Step 1
Install tile roof components; roofing underlayment, battens (if used), and field tiles up to the row just below the ridge where the Universal Tile Ridge Vent will be installed. All components should be installed per the Tile Roof Institute installation manual observing specific regional climate requirements.
Step 2
Using a chalk line, mark 1” on both sides of the ridge for truss construction (1” beyond ridge pole) as a guide for cutting a slot in the decking. The slot should be no closer than 12” to the end of the ridge.
Step 3
Cut a 2” slot in the roof ridge on the bottom of the decking using a circular saw – avoid cutting trusses and rafters.
Step 4
To ensure proper alignment along the ridge, run a chalk line down both sides of the ridge.
Step 5
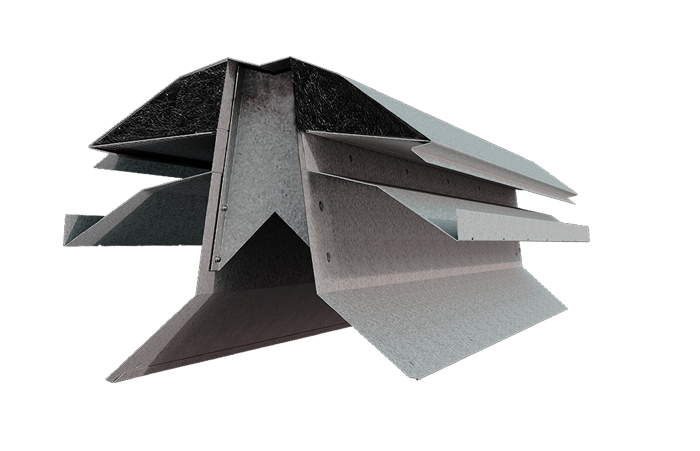
Center the Universal Tile Ridge Vent over the ridge slot. Use sealant recommended by the underlayment manufacturer between the vent flange and the roof deck. Place the first vent with the male end facing inwards. The vent flanges have a built in 6:12 pitch; for shallower roof pitches, simply press the vent downwards to flatten the flanges against the roof deck. For steeper pitches, press the vent body against the deck and bend the flanges against the deck while nailing in place.
Step 6
Fasten the vent to the roof deck on approximately 12” centers using a nail gun, or hand nail using the existing pre-punched holes.
Step 7
Apply a generous bead of Marco Weathertite™ Sealant along the circumference of the male end flange, including the deck flanges. Lower the female end of the next vent into place over the male end of the first vent, ensuring the sealant fills any gaps. Hold the vent down while nailing it into place. Repeat for all subsequent vents. Vents are self-centering to each other when sleeved together.
Step 8
Cut the ridge anchor accessory to a length long enough so that it is flush with the edge of the roof. Place the ridge anchor adjacent to the Universal Tile Ridge Vent and seal with mastic and/or sealant. Fill end of ridge anchor with mortar to seal.
Step 9
Install the cap tiles with mortar, adhesive, or fasteners.


