Step 1
Locate the roof vents toward the rear or side of the house spaced evenly over the width of the roof.
Step 2
Mark the location of all roof vents before cutting holes. Cut the hole in the roof deck to closely match the hole in the vent. Center the holes between the rafters down two feet (24”) from the peak of the roof. When installed as an intake vent, position vent at two feet (24”) from the eave or edge of the roof. Ensure that attic insulation does not block intake vent.
Step 3
Install shingles until the bottom of the hole is covered. Cut the excess shingles away. Apply an approved sealant around the edge of the hole.
Step 4
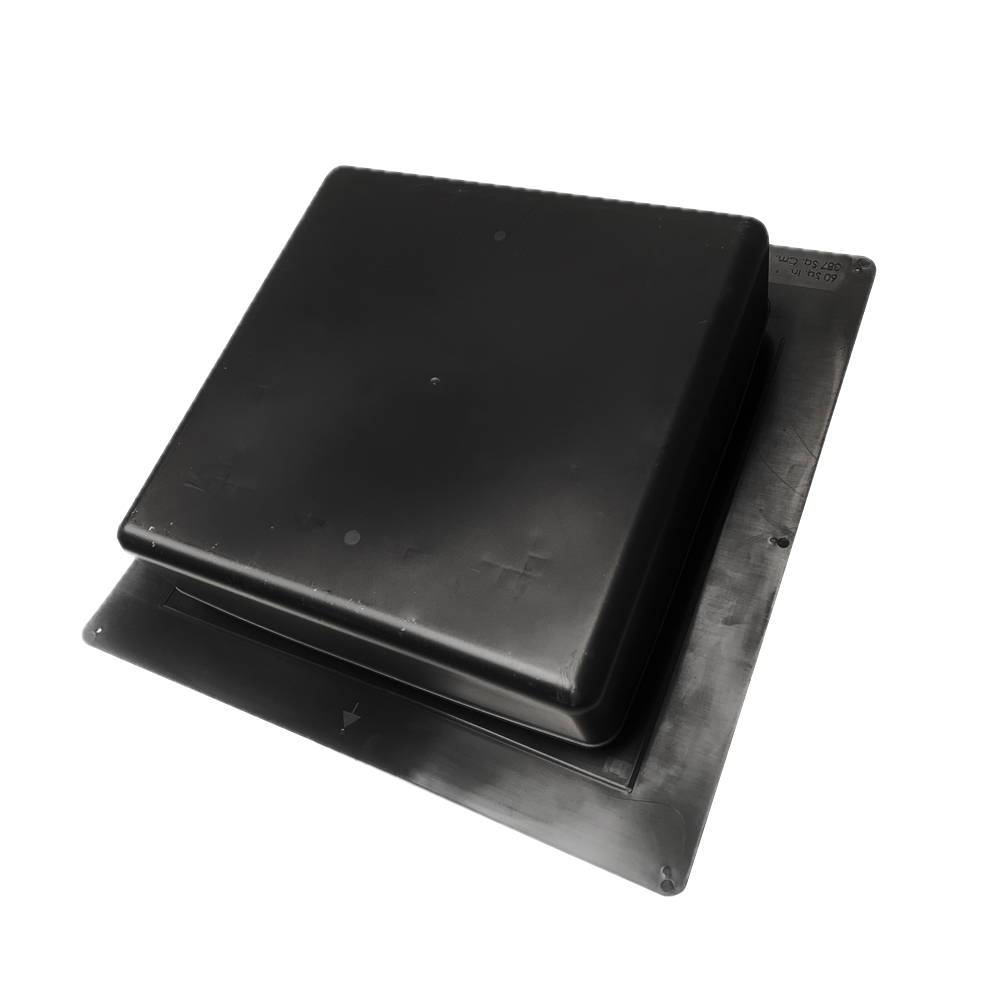
The top of the vent has an arrow at the top of the flashing to install facing the ridge. Ensure that the vents are installed to the up-arrow position.
Step 5
Secure the vent base with a minimum of 6 galvanized nails. Nails should be a minimum of 1¼” long and should penetrate the vent, shingle, and decking. Secure a nail in each corner of the vent flashing and along the middle of each side of the vent.
Step 6
For proper sealing, use a plastic-friendly roofing sealant. All nails should receive a dab of sealant.
Step 7
Install shingles around the vent ensuring that the shingles butt up against the throat of the vent.
Step 8
Pre-cut the top shingle to fit around the top side of the vent throat and nail in place. Install shingles as normal.


