Step 1
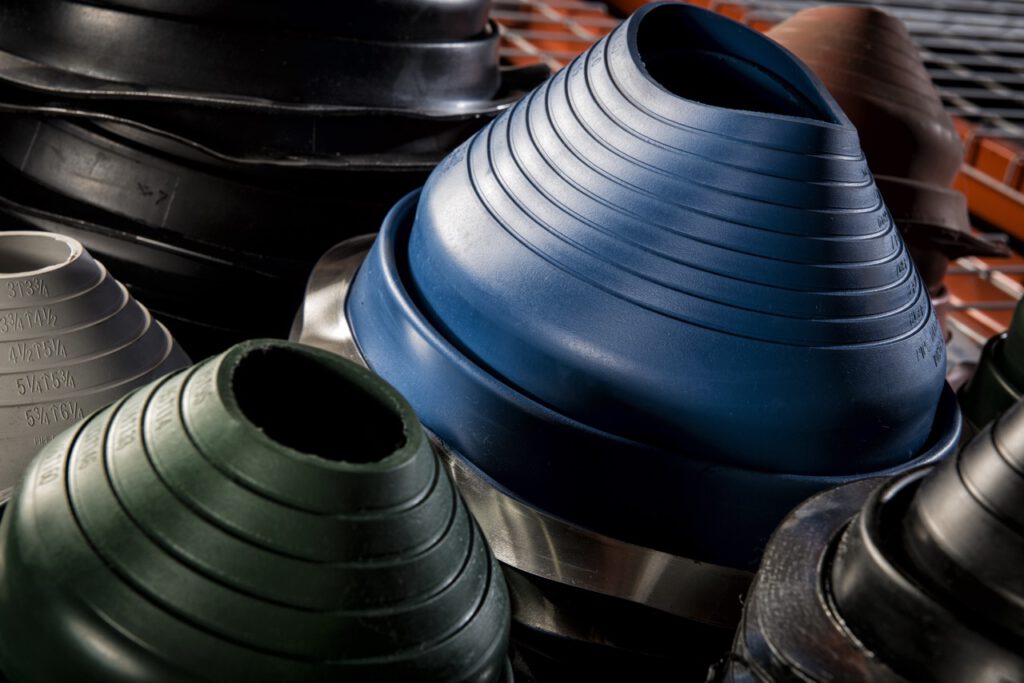
Measure the Pipe Diameter
• Measure the outside diameter of the vent pipe.
• Select the correct size ring on the flashing cone that matches the pipe size.
Step 2
Cutting the Cone to Fit the Pipe
• Using scissors or a utility knife, cut along the marked ring on the cone.
• Cut slightly smaller than the pipe diameter to ensure a tight seal.
Step 3
Slide the Flashing Over the Pipe
• Apply a small amount of soapy water or lubricant to the pipe if needed.
• Slide the flashing cone down over the pipe until the base rests on the roof surface.
Step 4
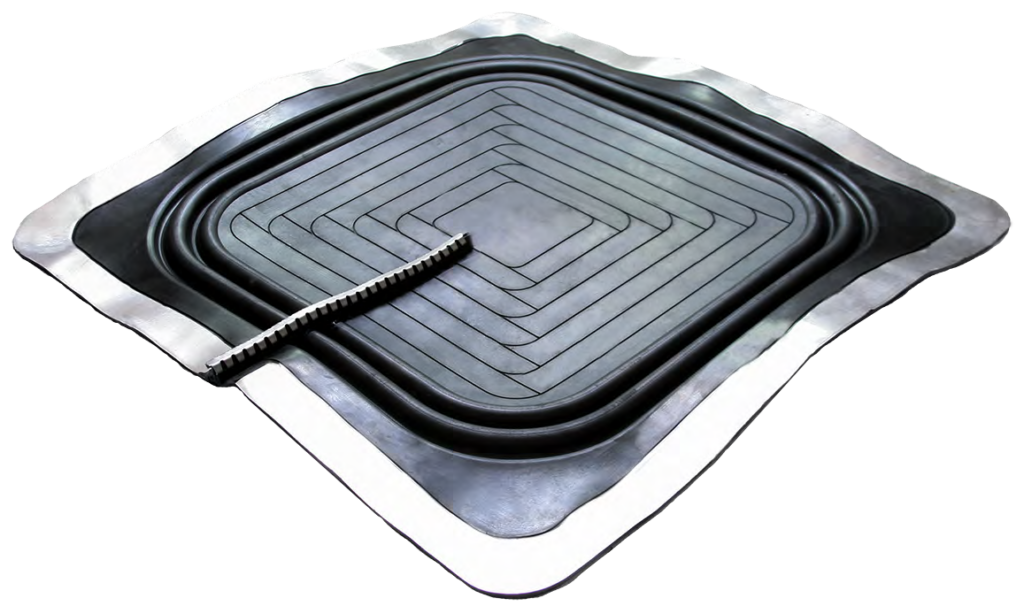
Form the Base to the Roof Profile
• Press the flexible aluminum base down so it conforms to the metal roof panel ribs and corrugations.
• Ensure the base sits flat against the roof.
Step 5
Apply Sealant
• Apply a continuous bead of roofing sealant under the base flange to prevent water intrusion.
Step 6
Fasten the Flashing
• Secure the base using self-drilling roofing screws with neoprene washers.
• Space screws approximately 1 to 1.5 inches apart around the perimeter.
Step 7
Seal the Top Edge
• Apply a bead of sealant where the cone meets the pipe to ensure a watertight seal.
Step 8
Final Inspection Check that:
• The flashing sits flush with the roof.
• All screws are tight.
• Sealant coverage is complete around the base and pipe.